The Mummy Shirt
Posted: November 14, 2010 Filed under: sewing | Tags: costume, halloween, handmade shirt, mummy, shirt, sleeves Leave a commentBeen awhile. Sorry! It has been so busy around here. I need to finish this up so I can move onto other great things I’ve been thinking about!
I love those two little teeth!
I made the mummy shirt from five pieces: a front, a back, two arms and a cowl neck. I used a shirt that fit Mila as my pattern.
I lined up my shirt on top of the t-shirt utilizing the hem of the t-shirt for the bottom of my shirt. (Though it is cut off the bottom of this picture.)
I traced about 1/4 inch around the shirt and cut out two at once (the front and the back of the t-shirt).
Similar to the skirt, I marked 1.5 inches up from the hem, then 1 inch until I reached the very top to help straighten my mummy strips.
Sew on the mummy strips. I stayed a bit away from the edge to cut down on bulk.
Right sides together, I sewed the sides of the front and back together and the tops near the head hole. Do NOT sew the arm holes shut! like me
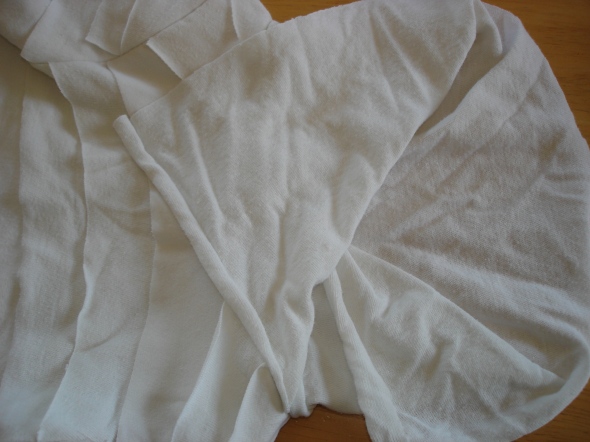
For the sleeves, I aligned the top portion of Mila’s sleeve with the side edge of the t-shirt so the entire sleeve was created. I also positioned it so the t-shirt hem was used as the sleeve hem. I did this twice, once for each sleeve. If this is confusing, the picture is clear.
This is a sleeve folded out. I initially marked the sleeves L and R, but this wasn’t necessary as it turned out. I marked 1.5 inches up from the very bottom hem, then 1 inch marks the rest of the way for the mummy strips.
Sew on mummy strips, working from the bottom up.
Sew the sleeves together, right side turned in. Do NOT sew the arm hole portion which is curved on the left.
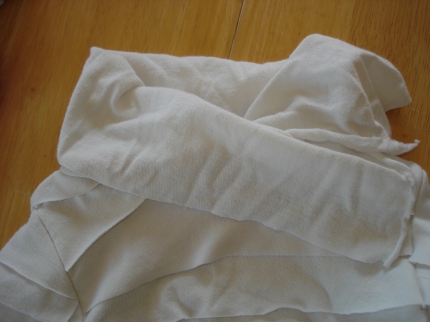
Before sewing the sleeves on, I pinned the mummy strips flat inside the arm hole and basted them down so that they wouldn’t flip around during the pinning-and-sewing-together process. I only have a picture of this in the head hole, but it is the same.
Attach the sleeves to the arm holes. The sleeves should be right side out and INSIDE the shirt. You will be looking at the wrong side of the front/back piece and should be able to slide your hand into the wrong side of the sleeve. Unfortunately, I forgot a picture of this.
Turn the shirt right side out and SMILE!
You’ll notice the shirt looks great except for the unfinished head hole. I wasn’t sure how chilly it would be here in Iowa for Halloween, so I made a large cowl neck, but a small 3-4 inch tall cowl neck should suffice. To make the cowl neck, I cut a long stretch of t-shirt at the bottom with the hem. I then sewed it onto the head hole wrapping around where it overlapped. This gave the shirt a nice cowl finish.
I made a beanie mummy hat, but Mila refused to wear it. I added a corker headband instead.
It was a great look, simple in construction and fun to create some new items from scratch!


